How are you feeling about the upcoming return to school? I’ve enjoyed spending time with my kids and I’ve had a house full of them and their friends throughout January (I actually did a tally and I’ve had a total of 34 different kids pass through my doors!) – it’s been nice to listen to them all play and get to know the personalities of my children’s friends.
But the prospect of the return to routines and of empty lunchboxes staring at me every morning does fill me with a bit of dread. As always, I’ll turn to my Lunchbox planner, which has 40 weeks of plans which takes some of the thinking out of it! I keep everything pretty simple, but throw in a weekly recipe and use lots of seasonal fruit and veg to keep things interesting. You can buy a copy of the e-book here.
There’s been a bunch of great posts around lately full of back to school ideas and advice. I liked this post from Natural New Age Mum with biscuit ideas – they all look great! At the moment I’m working on a new quick-bake e-book and here’s a little preview. It’s another biscuit suggestion that pops a bit of fibre into the lunchbox and gives them some energy for the afternoon session.
Best wishes to all of those sending off your kids for the first time. I did that last year, and it was extremely bittersweet. This year is much more relaxed, there are no nerves, just excitement about which class we’ll be in with which friends. What a difference 12 months makes!

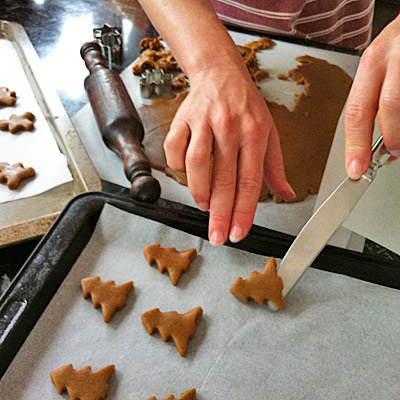
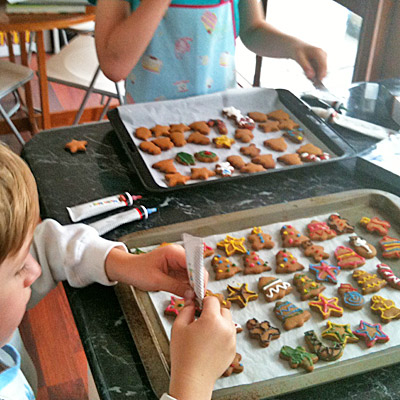
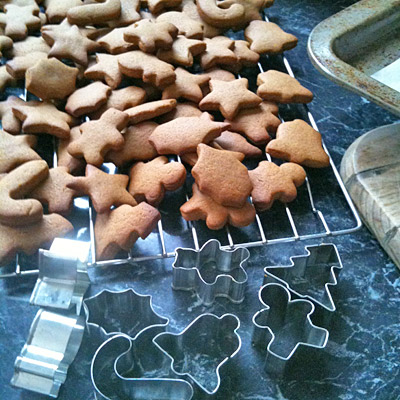
Biscuits. They make me happy.
Oat, sultana and sesame biscuits
½ cup self-raising flour
1½ cups oats
¼ cup Allbran cereal
3 tbsp sesame seeds (optional, but recommended)
¼ tsp cinnamon
Pinch salt
½ cup sultanas or currants
60g butter, softened
½ cup brown sugar
1 egg
Preheat the oven to 180C. Line two oven trays with baking paper.
Sift the flour into a medium sized bowl. Mix in the oats, bran, seeds, cinnamon, salt and sultanas.
In a separate, larger bowl, use hand-held beaters to combine the butter and sugar until creamy. Add the egg and mix well.
Use a spoon to fold in the dry ingredients. Pop on kitchen gloves to avoid mess and roll out ping-pong sized balls of mixture. Place on the trays and bake for 12-15 minutes until just brown.
MAKES ABOUT 24.